
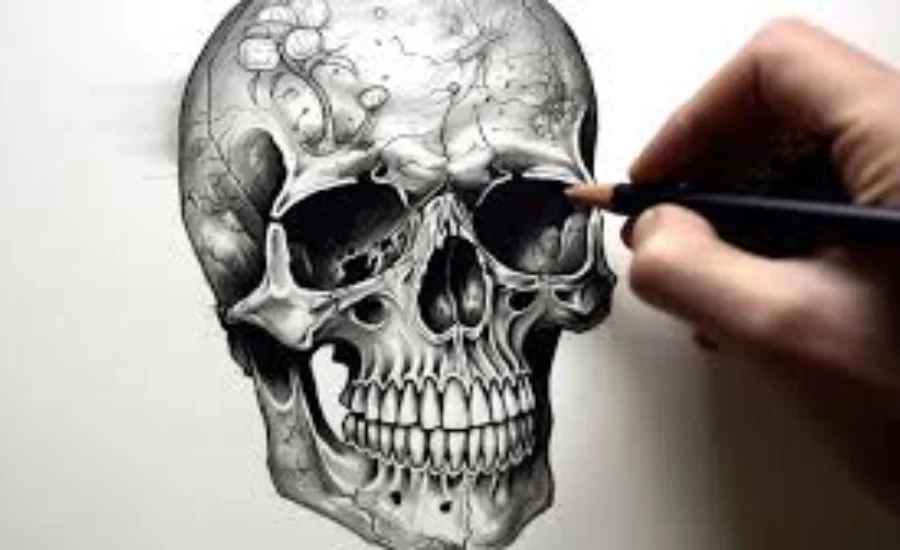
Drawing:oldj_7nsvxk= Skull: A Comprehensive Guide
Drawing:oldj_7nsvxk= Skull For painters of all skill levels, drawing skulls is an engaging and gratifying endeavor. Skulls are frequently used as a topic in tattoos, paintings, and other visual arts because of its intricate design and symbolic meaning. This tutorial will take you step-by-step through the process of drawing a skull, providing a thorough approach to every step so you may master this fascinating subject.
The Importance of Understanding Human Anatomy for Accurate Skull Drawing

A complete knowledge of human anatomy is required in order to draw a skull accurately. The intricate network of connecting bones that makes up the skull must be accurately depicted in order to create a realistic image. The nose cavity, mandible, eye sockets, teeth, and skull are important elements that must all be proportionately appropriate and contribute to the overall form.
Artists frequently use textbooks or reference pictures of actual skulls to begin their studies of anatomy. Using 3D skull references or drawing from real-world models might also be beneficial. A convincing and realistic drawing of the human anatomy necessitates paying close attention to details such as angles, bone structure, and the way light falls on the various regions of the head.
Essential Tools for Drawing a Realistic Skull
To create a detailed and accurate skull drawing, having the right tools at hand is crucial. Here are some commonly used materials that can enhance your drawing process:
- Pencils: Use a range of pencils with different hardness levels, such as HB, 2B, and 4B, to achieve various shades and detail in your sketch. These pencils help in both the initial outline and the intricate shading.
- Erasers: Employ a kneaded eraser for refining highlights and creating subtle tonal adjustments. A standard eraser is useful for correcting larger areas and mistakes.
- Paper: Choose between smooth or textured paper based on the style and level of detail you aim to achieve. Smooth paper is ideal for fine lines, while textured paper can add depth to your shading.
- Blending Stumps: These tools are essential for smoothing out shading and achieving a realistic, blended effect in your drawing.
Laying the Foundation for Drawing a Skull
When starting your skull drawing, it’s essential to begin with basic shapes to create a solid framework. This circle forms the core structure of the skull. Next, draw a vertical line down the center of the circle and a horizontal line across its lower half. These guide lines are crucial as they help you accurately position the facial features, such as the eyes, nose, and mouth. This foundational approach ensures that your skull’s proportions and alignment are correct, setting the stage for adding more detailed elements.
Adding Structure: Sketching the Jaw and Cheekbones
In the next phase of drawing a skull, focus on defining the jaw and cheekbones. Begin by drawing straight lines that connect the bottom of the cranium circle to where the jaw will be located. For the cheekbones, extend lines outward from the sides of the skull, curving them gently as they join the cranium. Ensure that the jawline narrows as it approaches the chin to achieve a more accurate representation. This step helps establish the skull’s overall shape and structural details, laying the groundwork for further refinement.
Defining Facial Features in Skull Drawings
Once the basic outline of the skull is established, the next step is to add its distinct facial features. Begin by sketching the eye sockets as large, oval shapes positioned in the upper half of the skull. For the nasal cavity, draw an inverted heart shape situated between the eye sockets. The mouth area should be represented by a horizontal rectangle where the teeth will later be detailed.
Ensuring proportional accuracy is crucial in this phase. The eye sockets should be evenly spaced, and both the nasal cavity and mouth must align symmetrically with the vertical guideline to maintain balance and realism in your drawing.
Adding Depth and Texture to Your drawing:oldj_7nsvxk= skull
Adding shade and texture to your design to make it more realistic is the next step after creating the basic contour of your skull drawing. In order to convey a feeling of depth and dimension, shading is crucial. The following techniques will help you improve your drawing:
Determine Light Source: Establish the direction of the light source in your drawing. This decision will guide you in shading areas that fall in shadow and highlighting regions that catch the light.
Blend Gradually: Use blending tools, such as stumps or even your fingers, to smooth and merge shades. This technique helps achieve a more natural and seamless appearance.
Incorporate Texture: Remember that skull surfaces are not perfectly smooth. Introduce subtle details like small cracks, indentations, and irregularities to enhance realism.
Ensure Contrast: Create a striking contrast between the darkest and lightest areas of the skull to add dimension and make the features stand out.
As you refine your skull drawing, take care to build up shading gradually. This careful approach will help you achieve a detailed and lifelike representation.
Common Mistakes to Avoid When Drawing Skulls
Drawing:oldj_7nsvxk= Skull a skull can be a complex task, especially for beginners. To ensure your sketch is accurate and realistic, it’s important to avoid some common pitfalls:
Neglecting Proportions: Maintaining correct proportions is crucial for an anatomically accurate skull. Avoid making features like the eyes too large or the jaw too small. Stick to the proportional guidelines to ensure a lifelike representation.
Rushing the Details: Paying careful attention to details, such as the teeth, is essential. Each tooth should be meticulously drawn and positioned within the mouth to enhance the realism of your drawing.
Overusing the Eraser: While erasers are useful, excessive erasing can smudge your work and detract from its quality. Aim to make confident, deliberate strokes with your pencil to minimize the need for frequent corrections.
Ignoring Light Source: Consistent shading based on a defined light source is key to creating depth and dimension. Failure to consider the light direction can result in a flat and unrealistic appearance.
Drawing:oldj_7nsvxk= Skull By being mindful of these common mistakes, you can improve the accuracy and quality of your skull drawings and achieve a more refined and professional result.
Final Words
Drawing:oldj_7nsvxk= Skull a skull is both an intricate and rewarding artistic endeavor. By understanding the fundamental anatomy and applying thoughtful techniques, you can create compelling and realistic skull illustrations. Remember to start with basic shapes to establish a strong foundation, gradually add detailed features, and focus on shading to bring depth and dimension to your work.
Avoid common mistakes such as neglecting proportions, rushing details, overusing the eraser, and ignoring the light source to enhance the quality of your drawing. With practice and attention to detail, you’ll develop your skills and create stunning skull drawings that reflect both your technical ability and artistic vision. Embrace the challenge and enjoy the process of mastering this fascinating subject.
For More Information Check This Gaze Up